Abstract: The two riding modes of Airwheel S6 sitting posture self-balancing scooter leave riders a deep impression. Also, it can be controlled via the remote control. How to replace the drive board and remote control board will be answered in the following.
To replace the Airwheel S6 electric walkcar's drive board and remote control board.
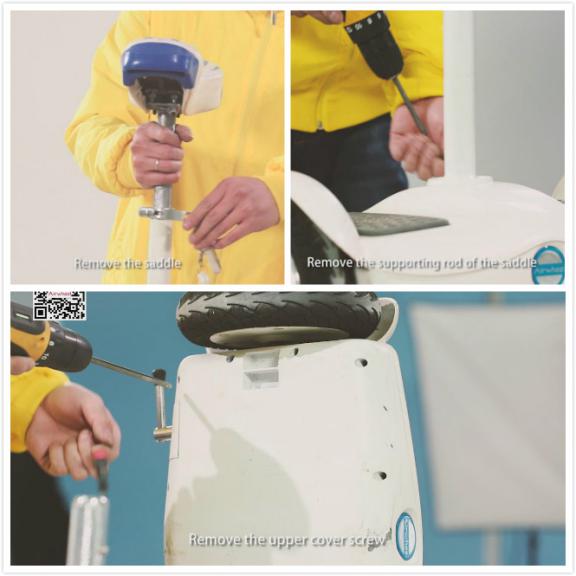
The first step is to remove the saddle, remove the supporting rod of the saddle and then remove the upper cover screw.
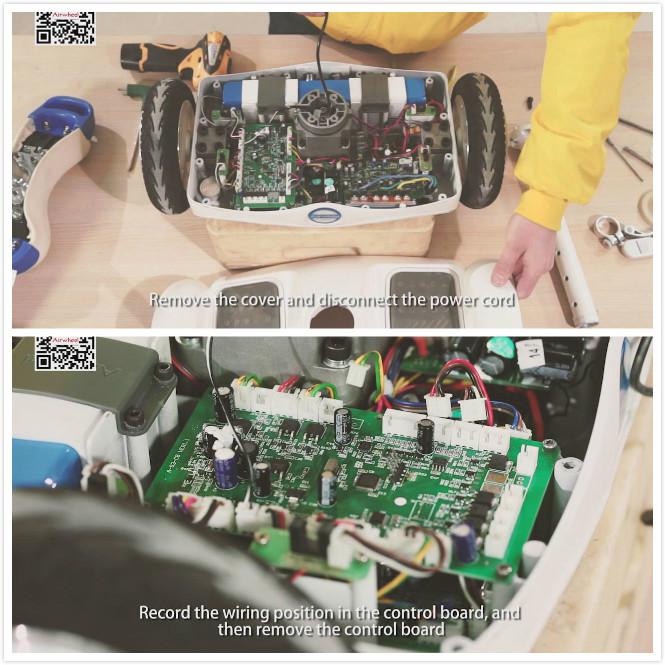
Remove the upper cover and disconnect the power cord. Record the wiring position in the control board, and then remove the control board
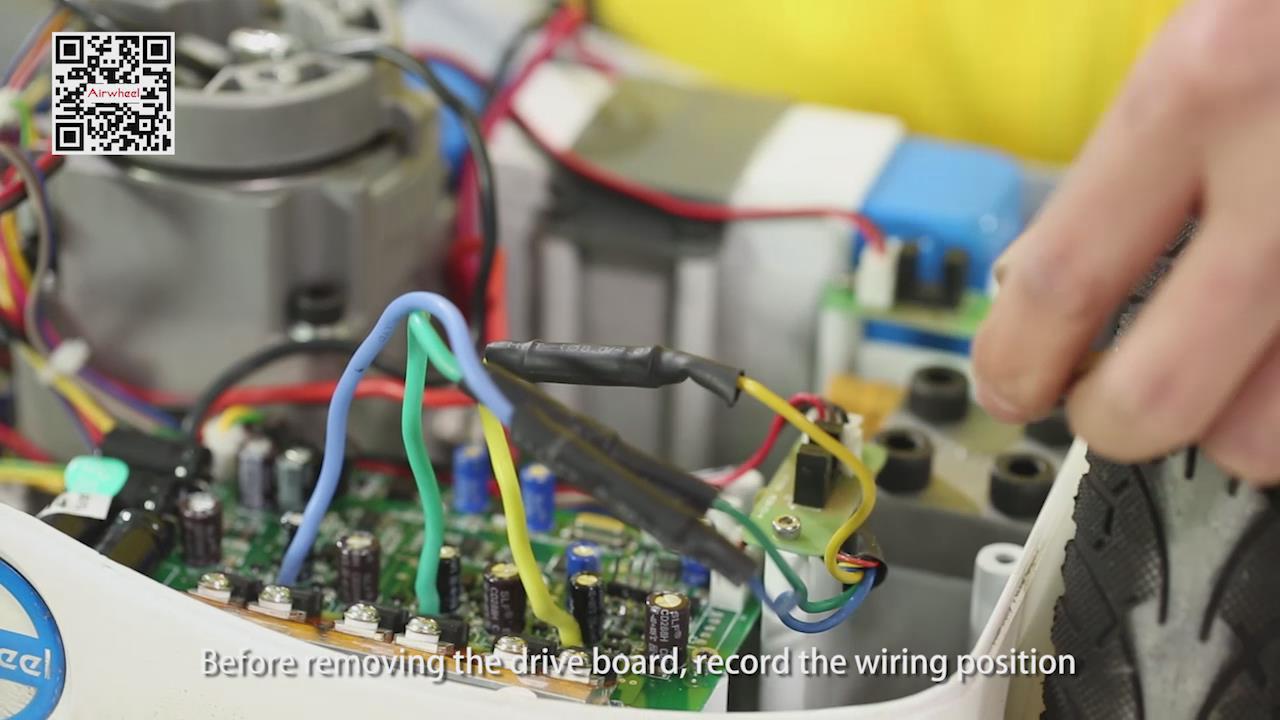
The third step is to remove the right drive board. Before removing the drive board, record the wiring position. The same is to the left drive board. Remove the left drive board. Before removing the drive board, record the wiring position.
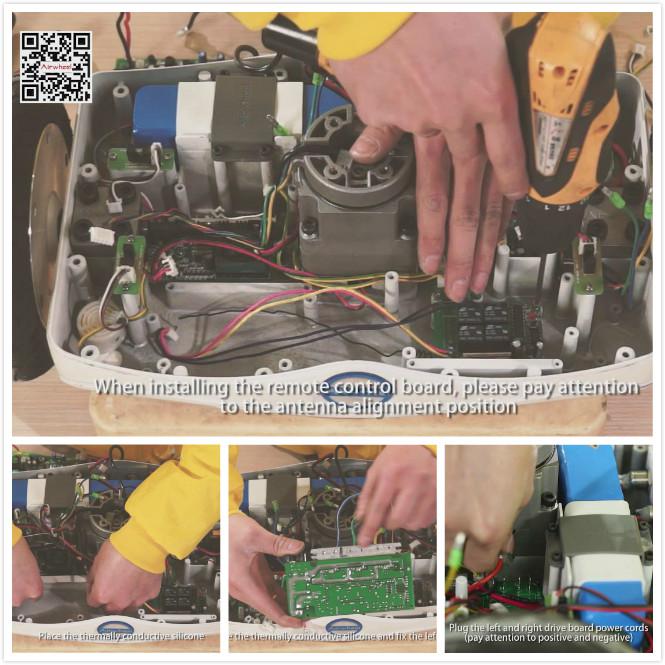
And then remove the remote control board and replace the remote control board. When installing the remote control board, please pay attention to the lines alignment position. Place the thermally conductive silicone. Fix the right drive board. Replace the left drive board. Place the thermally conductive silicone and fix the left drive plate. Plug the left and right drive board power cords (pay attention to positive and negative).
Connect the motor and driver board and its wirings according to the previous connection.
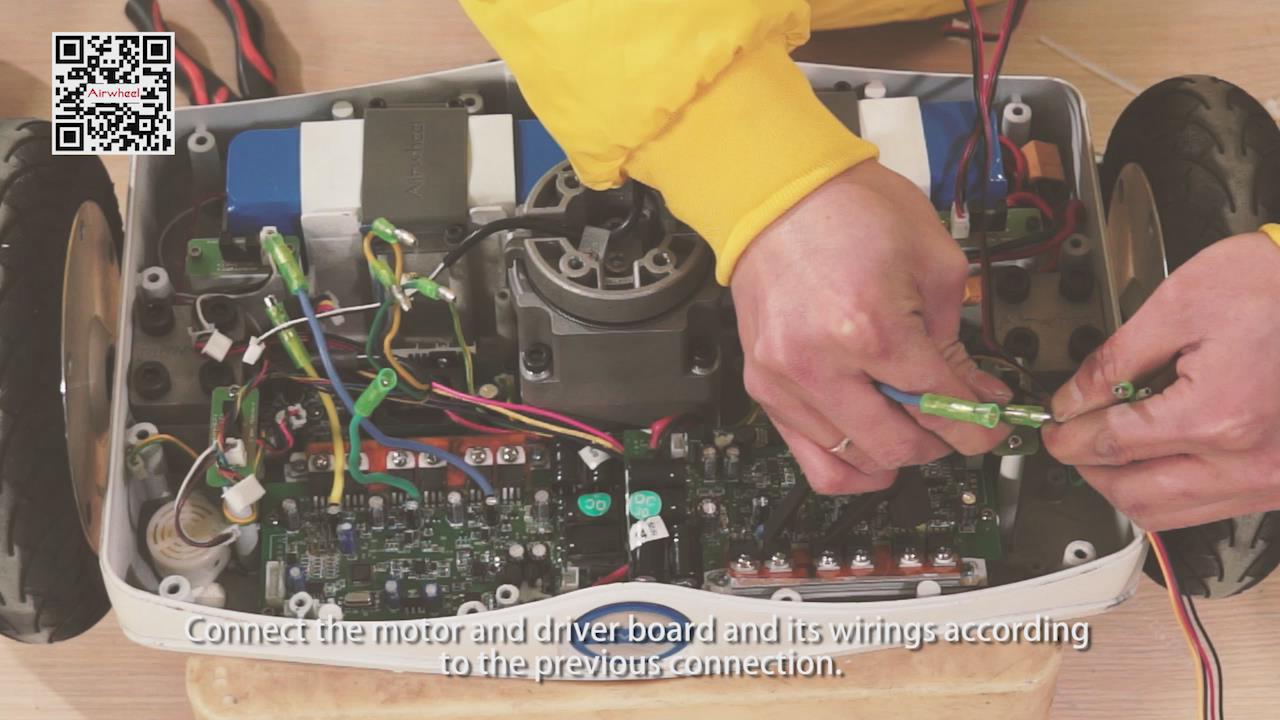
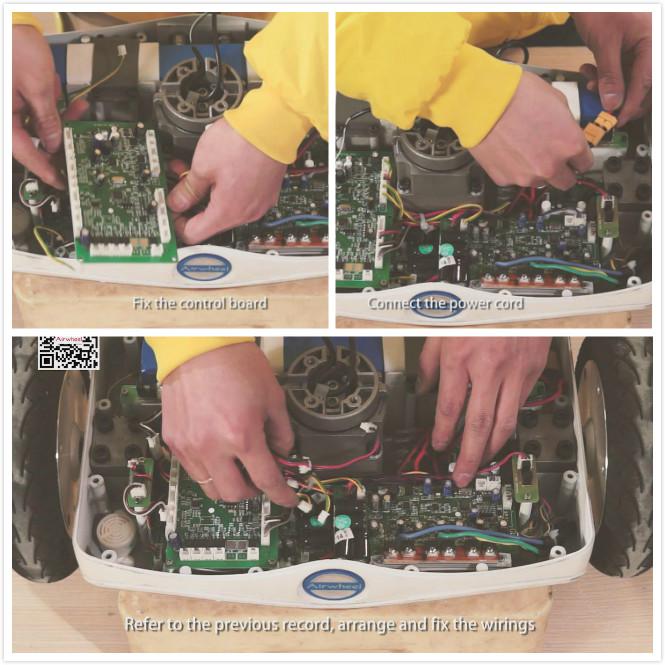
Install the control board, fix the control board. Refer to the previous record, arrange and fix the wirings. Then, connect the power cord.
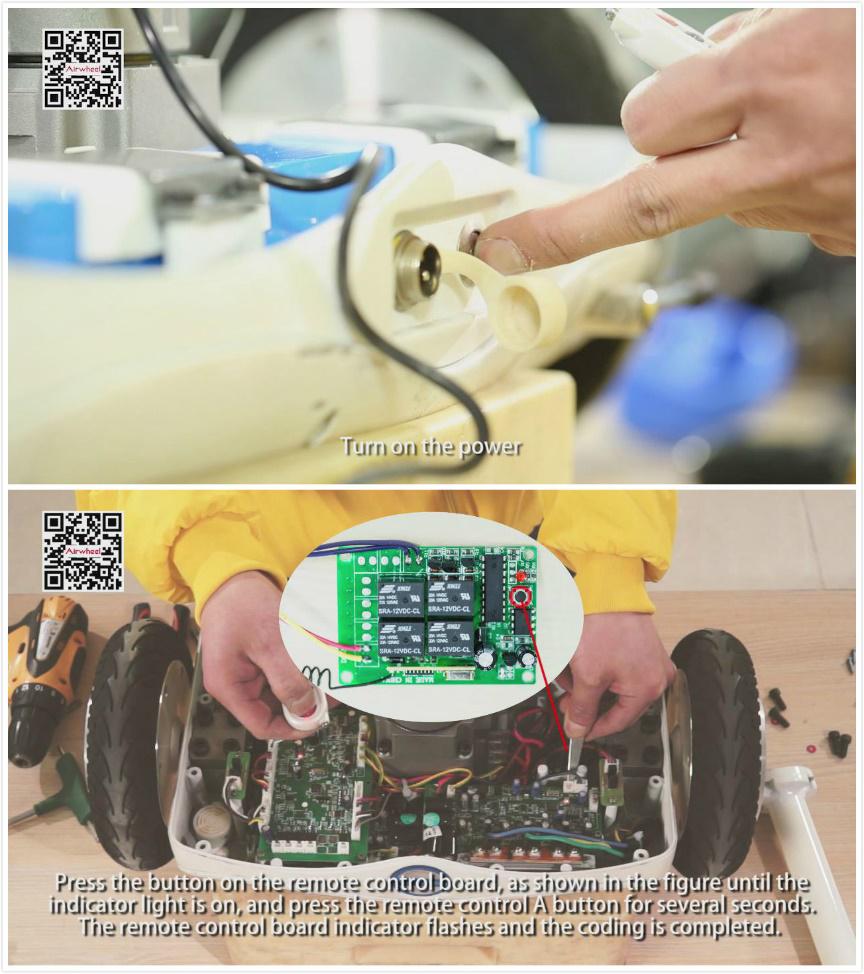
After replacing the remote control board, you need to code it with the remote control. firstly, turn on the power, press the button on the remote control board, as shown in the figure until the indicator light is on, and press the remote control A button for several seconds. The remote control board indicator flashes and the coding is completed.
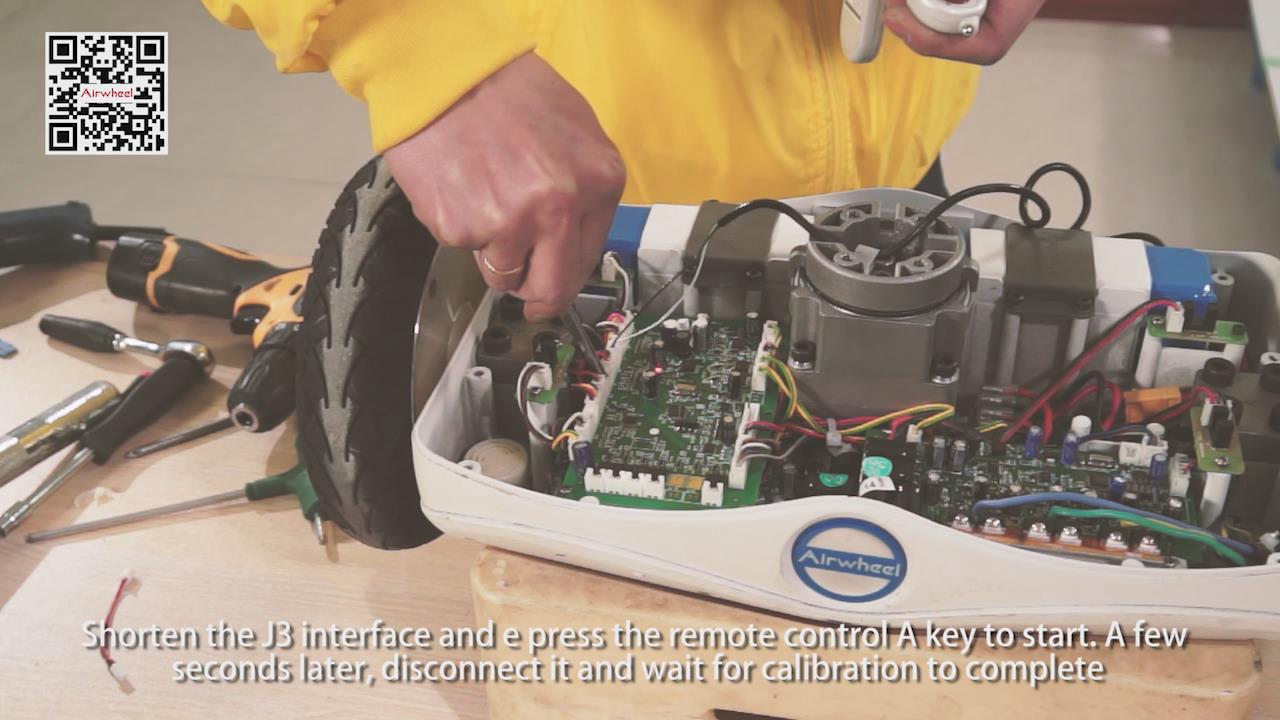
Then, you need to calibrate it. Shorten the J3 interface and e press the remote control A key to start. A few seconds later, disconnect it and wait for calibration to complete
Lastly, you need to install the upper cover, install the supporting rod of the saddle and install the saddle to finish the operation.
There is also a video available at YouTube https://www.youtube.com/watch?v=hERrqwh_IT4.